While I’m working on the 4th part of the Creating a Sencha Touch MVC application from scratch series, I’ve decided to write this little article because the feedback received indicated that this would be useful for some of you.
Many Sencha Touch developers tried or want to use the TabPanel component in a MVC structured application to navigate between different routes (controller/action pair), but this component is not intended for this purpose.
The way to do it is to dock a TabBar to the bottom or to the top of the application’s viewport and handle all interaction with the tab bar buttons ourselves.
To make it easier and to be reusable in other projects, I’ve extended the TabBar component into a class that handles all the “MVC stuff” automatically, like redirection to controller actions and setting the active tab bar button based on the current application route.
Here’s how to use it:
1. Download TabBarMvc.js and add it to you project; a good place for it is in the app/views folder. Don’t forget to include it in you index.html file:
...
<!-- VIEWS -->
<script type="text/javascript" src="app/views/TabBarMvc.js"></script><script type="text/javascript" src="app/views/Viewport.js"></script>
...
2. Add the component as a docked item to the viewport view like this:
dockedItems: [
    {
    	xtype: 'TabBarMvc',
    	items: [
	        {
	        	text: 'Home',
	        	iconCls: 'home',
	        	route: 'Home/index', // custom property of the TabBarMvc component
	        },
	        {
	        	text: 'About',
	        	iconCls: 'info',
	        	route: 'Home/about', // custom property of the TabBarMvc component
	        },
        ],
    },
],
As you can see the extended TabBar component has a new property named route. Based on this property the TabBarMvc will redirect to the right controller action.
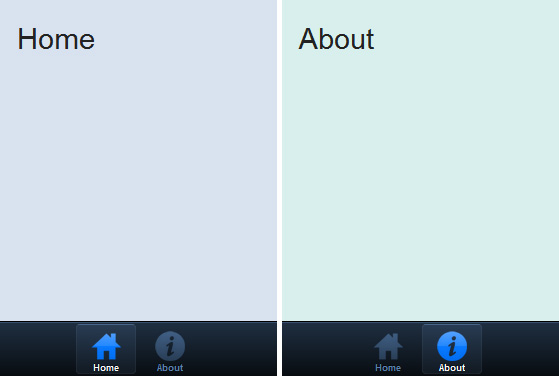
Here’s a screenshot:

Update:
TabBarMvc will automatically send a reverse animation to the controller action when you click/tap a button that’s to the left of the currently activated one.
To make use of this feature you should do something like this in the controller action:
index: function(options)
{
    ...

    this.application.viewport.setActiveItem(this.indexView, options.animation);
},
The default animation is a slide. To change this, you can set the switchAnimation property of TabBarMvc to a different effect like this:
{
	xtype: 'TabBarMvc',
	switchAnimation: 'slide',
	...
}
or like this:
{
	xtype: 'TabBarMvc',
	switchAnimation: {type: 'slide'},
	...
}
Hope you’ll find the TabBarMvc component useful.
You can download an example project from here.
This is the first article that was written as a result of the feedback received so if you have anything to say don’t hesitate to add your contribution.


